
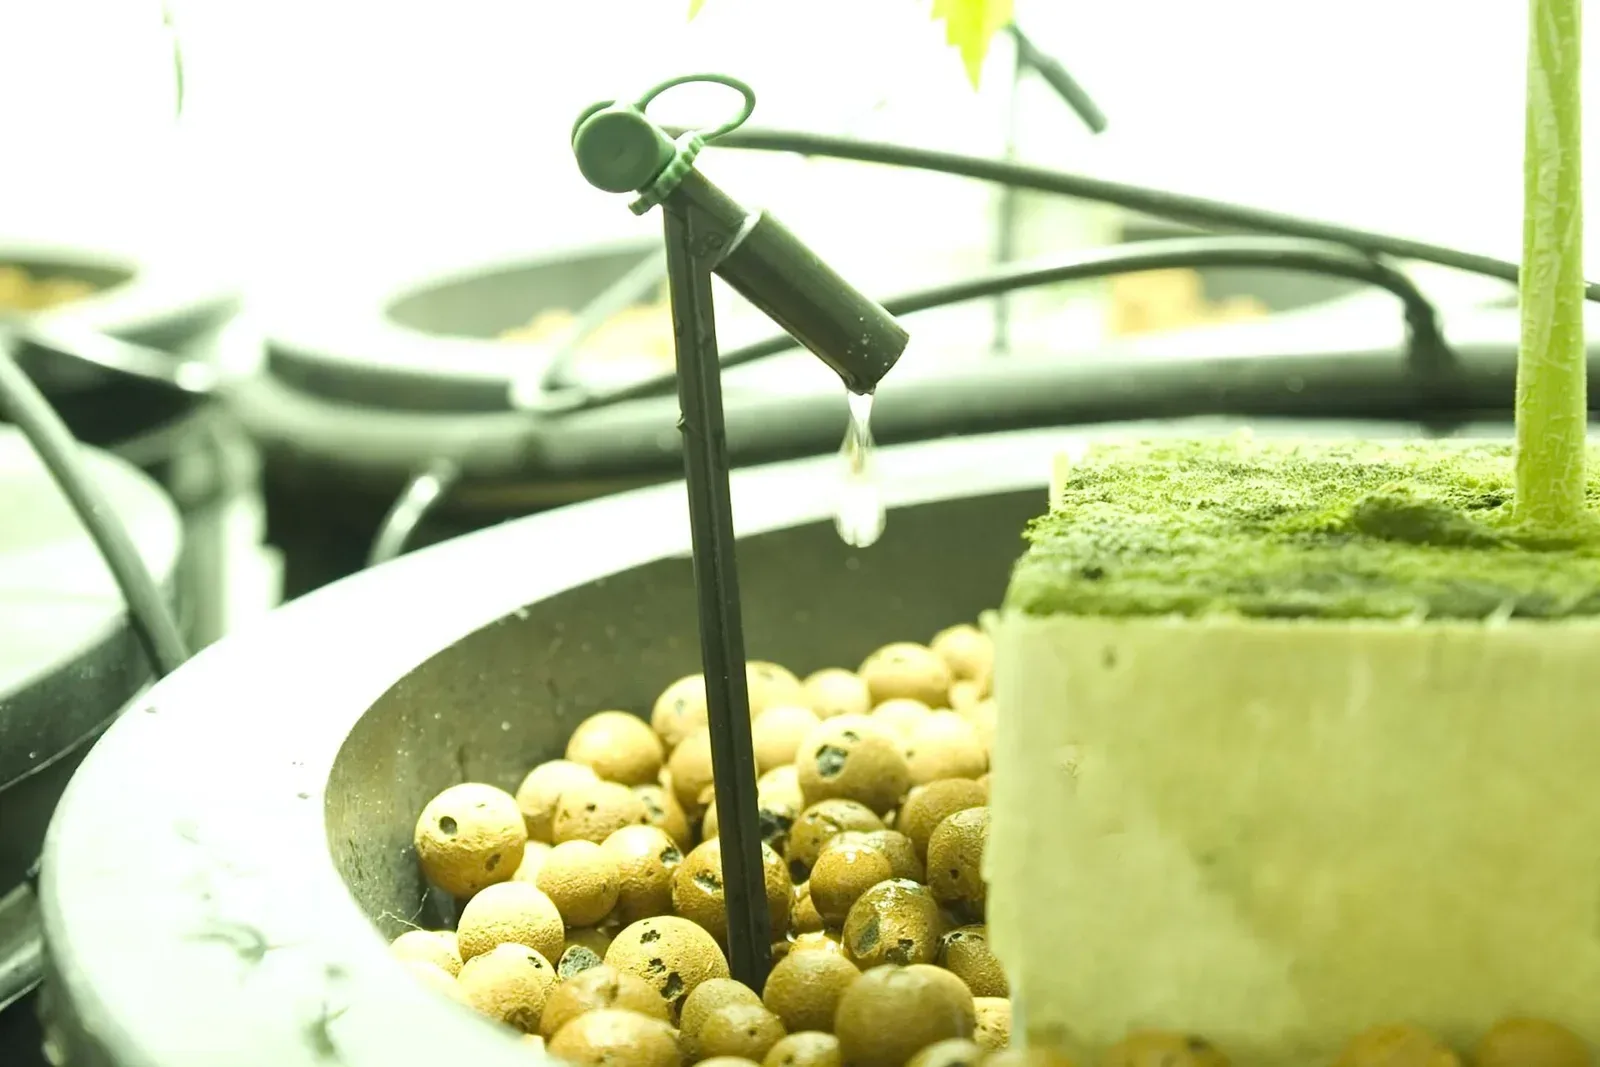
Watering forty pots by hand is fine in February. By May, when a grow bag on an open terrace can dry out between breakfast and lunch, it becomes a daily chore that decides if you can leave home for two days. A small drip system takes that job off your hands. It puts water at the root zone of each pot, wastes less, and keeps the terrace floor drier.
This guide is part of our balcony and terrace gardening in India series. It explains the parts of a DIY drip kit, the difference between running drip from a tank and from a tap, how to lay it out for pots and grow bags, how long to run it in each season, and how to keep the drippers from clogging.
How drip irrigation works on a terrace
Drip irrigation, called tapak sinchai in Hindi, sends water through a main pipe and lets it out slowly through small outlets placed at each plant. Instead of a jug of water rushing through the pot in a few seconds, the mix gets a slow trickle that has time to soak in. On a terrace this has three clear benefits. Less water runs out of the drainage holes onto the floor, leaves stay dry, which helps in humid weather, and every pot gets watered at the same time each day even when you are away.
Drip does not decide how much water a plant needs. You still have to set the run time, check the pots and change the schedule with the season. Think of it as a reliable pair of hands, not a brain.
Parts of a DIY drip kit
Ready-made terrace kits and loose parts are both easy to find. Jain Irrigation's published terrace and home garden kit, for example, lists a tap adaptor, a small on/off valve, 16 mm tube, an inline filter, 4 litre per hour drippers, four-way stake sets, end stops, joiners, tees, elbows, a punching tool and goof plugs. Most kits from other brands use the same family of parts.
16 mm lateral pipe
This black pipe is the backbone. It runs along your row of pots and carries water from the source. It is flexible, cuts with a sharp knife or pipe cutter, and joins with barbed tees, elbows and joiners. Close the far end with an end stop, often a small figure of eight clip, so you can open it later to flush the line.
4 mm micro tube
The thin tube, sometimes called spaghetti tube, carries water from the 16 mm pipe to each pot. You punch a hole in the lateral, push in a small barbed connector, and run the micro tube up into the pot. It lets you keep the main pipe on the floor and still reach pots on stands, railings and hanging baskets.
Drippers and emitters
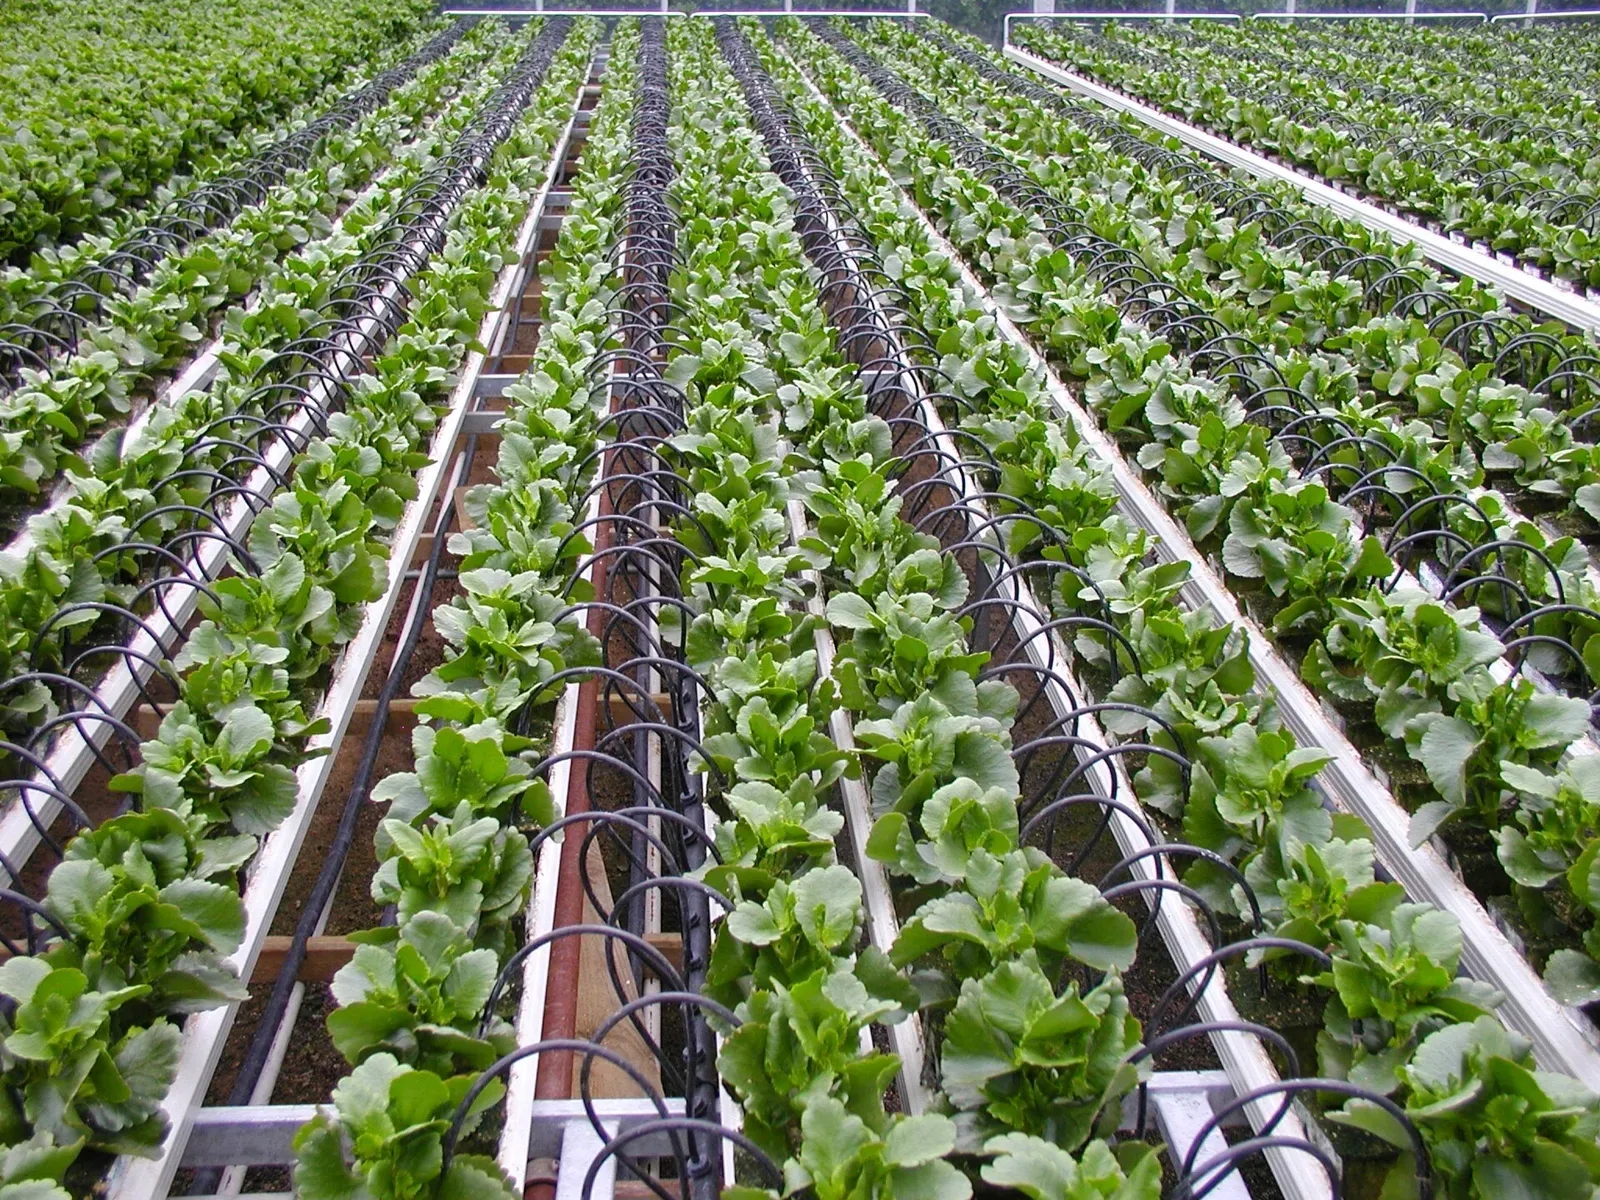
The words are used loosely, but they mean the outlet that controls how fast water comes out. You will see a few kinds:
- Button or online drippers that push straight into the 16 mm pipe, often rated at 2, 4 or 8 litres per hour.
- Stake drippers at the end of a micro tube, pushed into the potting mix.
- Adjustable drippers with a screw cap, which you can open or close to change the flow for each pot.
- Pressure compensating drippers, which give the same flow over a range of pressures. Many of them need more pressure than a low tank can give, so check the minimum pressure on the packet before you buy them for a gravity setup.
Filter
A small inline screen or disc filter near the source stops sand, rust and bits of plastic from reaching the drippers. TNAU's drip irrigation guidance calls filtration the main factor in whether a system succeeds or fails. Never run the system with the filter element removed.
Timer
A battery tap timer opens and closes the water on a schedule. Before buying, check two things on the box: the minimum water pressure it works at, and whether the thread fits your tap. Some solenoid timers will not open properly on the low pressure of a terrace tank line.
Gravity drip from a tank or bucket
A gravity system needs no pump and no electricity. Water flows from a raised tank, drum or bucket through a valve and filter into the pipes. The pressure comes only from height. As a rough guide, each metre of height between the water level and the drippers gives about 0.1 bar.
Jain's bucket kit instructions ask for the water source to sit at least 1.5 metres above the ground, and FAO's guide to family drip kits describes tanks set 1 to 1.5 metres high. In practice this means:
- Put the drum on a sturdy stand, not on the floor. A drum at pot level will barely drip.
- Keep the runs short and feed the line from the middle if you can, so pots at both ends get similar flow.
- Keep pots at roughly the same height. A pot on a high stand will get less than one on the floor.
- Cover the tank and use an opaque one. Sunlight on open water grows algae, which then clogs the drippers.
- Use simple non compensating or adjustable drippers that work at low pressure.
Water is heavy, so a full drum on a stand puts a lot of weight on one small patch of roof. Ask a structural engineer or your builder where to place it, ideally over a beam or column. If your terrace has not been checked yet, read our guide on terrace garden waterproofing before you add a tank and a garden.
Running drip from a tap
Many terrace taps in Indian homes are fed by the overhead tank, which sits only a short height above the terrace floor. That tap works much like a gravity system, so the same low pressure rules apply. A tap connected to a pressure pump or a strong direct supply is different. It gives enough pressure for compensating drippers and long runs, but it can also blow fittings off, so many installers add a pressure reducer.
If your area gets municipal water only at fixed hours, a timer on a tap connected straight to the supply will only work when water is in the line. Running drip from a tank you fill daily is more reliable in that case.
Laying out drip for pots and grow bags
Plan in zones
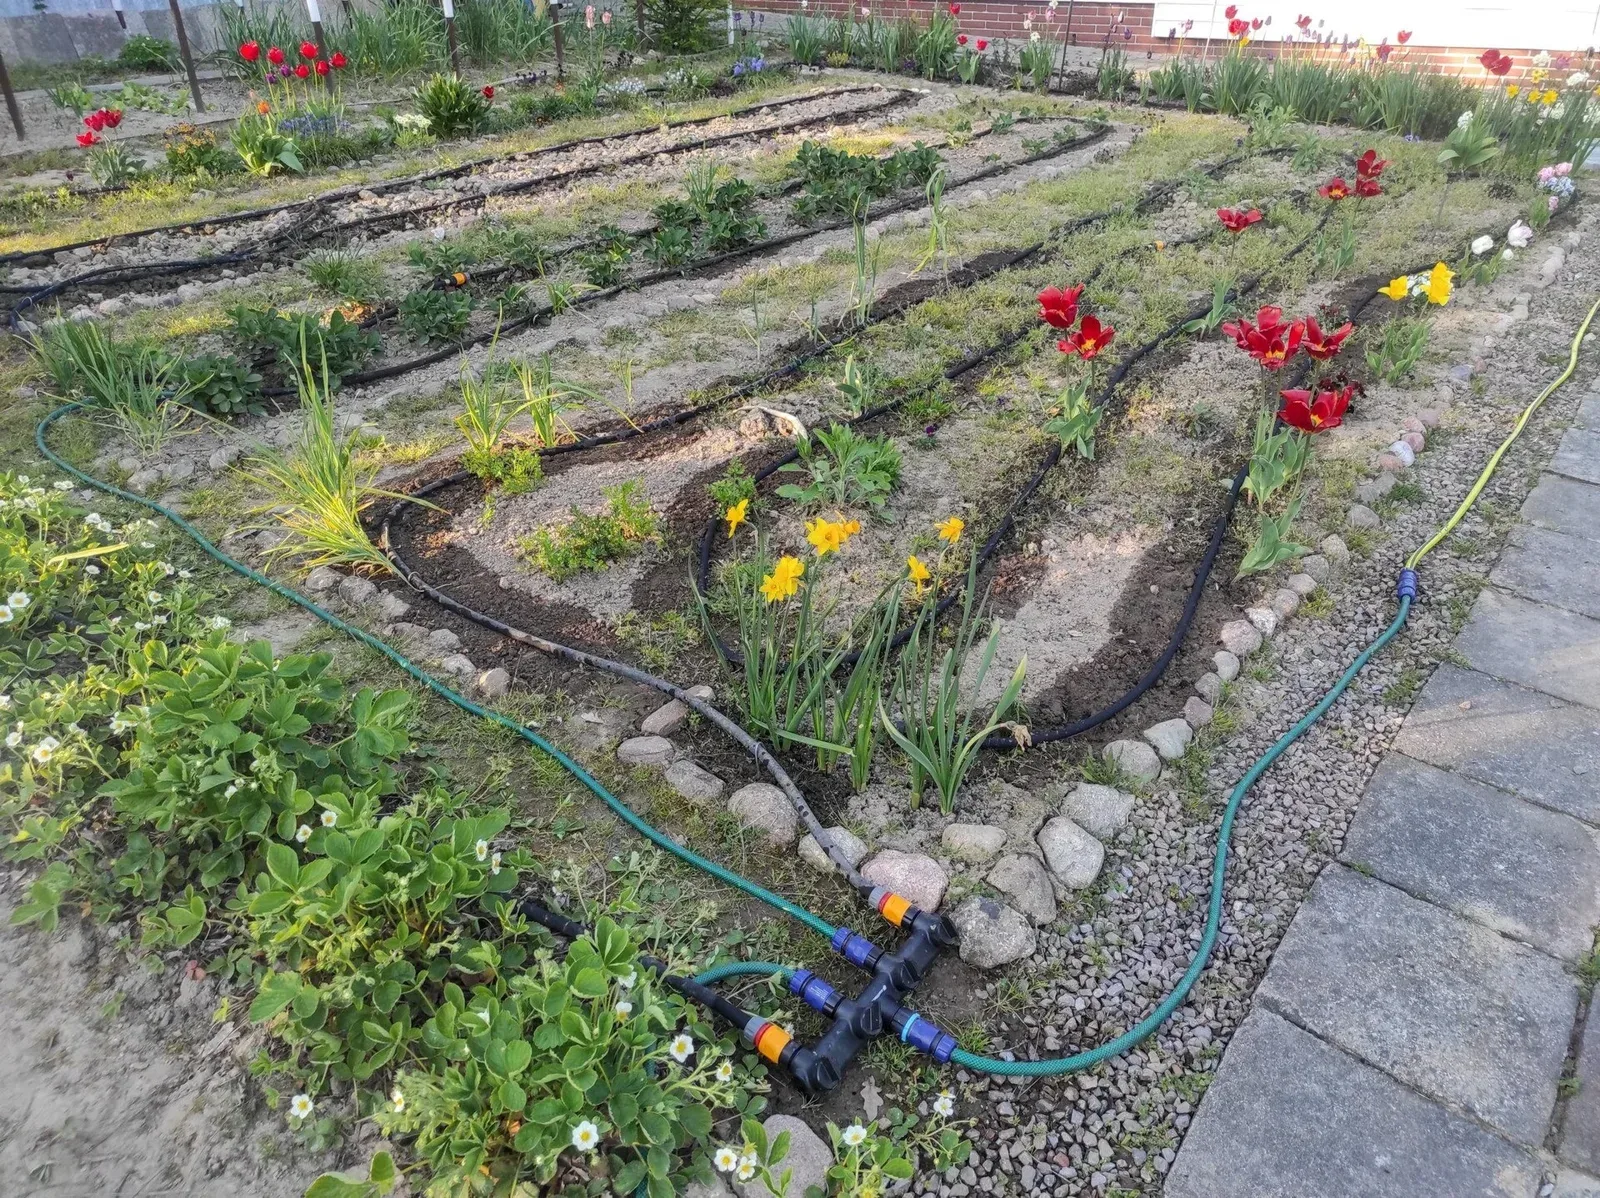
Plants that need very different amounts of water should not share one line. A tomato or brinjal in a big grow bag in full sun drinks far more than a jade plant or an aloe. Make separate lines with their own small valve: one for summer vegetables, one for flowering shrubs, and one for slow drinkers, or leave succulents off the system altogether.
Pots
Run the 16 mm lateral along the base of the row, close to the parapet but not blocking the drain outlets. For each pot, take a micro tube from the lateral to a stake dripper placed a few centimetres from the stem, not right against it. A four-way splitter lets one dripper feed four small pots that sit close together.
Grow bags
A small bag with herbs or chilli usually needs one dripper. A large bag with brinjal, tomato or a gourd vine does better with two, placed on opposite sides of the plant, so the whole root ball gets wet and not just a narrow column. Our guide to grow bags vs pots explains why fabric bags dry faster than plastic pots, which matters when you set run times.
Raised pots, railings and hanging baskets
Micro tube can climb a wall or a railing and be clipped in place. Keep these pots on their own line if you can, because water drains back down after the system shuts off, and a high basket can end up drier than the pots below it.
Start-up and first test
Before you fit the end stops, open the line and let water run through for a minute to flush out dirt and air. Then close the ends and walk along the row to see that every dripper is working. If you punched a hole in the wrong place, close it with a goof plug.
How long to run drip in each season
There is no single right number. It depends on dripper flow, pot size, the mix, the plant and the weather that week. The way to find your number is a simple test.
- Water a dry pot with the system and time it.
- Stop when water just starts to come out of the drainage hole.
- Note the time, then check the soil with your finger the next day to see how fast it dries.
A little arithmetic helps too. A 4 litre per hour dripper running for 15 minutes gives about 1 litre. Two of them in one grow bag give about 2 litres in the same time.
Summer (March to June)
This is when drip earns its place. On an open terrace in North India during dry, windy weeks, most vegetable pots need water every day, and small pots may need a second short run. ICAR's heat wave bulletin from 2022 advises running drip twice a day, morning and evening, for tomato during heat waves. Run the first cycle early in the morning. Black lateral pipes lying in the sun heat the water inside, so the first water out in the afternoon can be hot. Laying the lateral in the shade of the pots helps. For more on getting plants through the hot months, see our guide on how to protect plants from heat.
Monsoon (June to September in most places)
Switch the timer to manual or turn it off on rainy days. Pots under an open sky may need nothing for a week. Pots under a balcony roof still need water, so check them separately. In coastal Karnataka, Kerala, Konkan and Mumbai, where rain is heavy and steady, overwatering is the bigger risk.
Winter (November to February)
In North India, cool days and short sunlight mean pots dry slowly, and many need water only every two to four days. Cut the run time and the number of days. In Chennai and coastal Andhra, the northeast monsoon brings rain from October to December, so treat those weeks like the monsoon. In Bengaluru, Pune and Hyderabad, winter is mild and dry, so you will still water regularly, just less than in April. Our guide to plant care in winter covers the other changes for the cold months.
Hills
In Himachal, Uttarakhand and the higher parts of the northeast, summer is the main growing season, and the pre-monsoon weeks of May and early June can be very dry. In winter, where nights drop below freezing, drain the lines so water does not freeze inside the pipes and fittings.
Keeping drippers from clogging
Clogging is the most common reason people give up on drip. TNAU lists the usual causes as solid particles like sand and rust, soft matter like algae and slime, and salts that settle out of the water. Hard water from many borewells leaves white crusts that slowly close the tiny holes.
A simple home routine
- Clean the filter screen under running water every week in summer, and whenever flow drops.
- Once a week, open the end stops and let water flush through each lateral until it runs clear.
- Walk the line every few days and look for drippers that are dry or spraying.
- Keep the tank covered and clean out the sludge at the bottom now and then.
- Store spare drippers so you can swap a blocked one quickly.
Hard water deposits
If drippers have white crust, pull them out and soak them in plain white vinegar for a few hours, then rinse and refit. Replace any that stay blocked. On farms, systems are treated with acid or chlorine on a schedule, but that needs care and correct dosing, so for a home terrace, cleaning and replacing drippers is safer.
Liquid feeds and drip
Thick homemade liquid feeds such as compost tea or jeevamrut carry fine particles that block drippers. Apply these by hand with a mug or watering can. Jain's kit leaflet also warns against adding fertiliser to a tank that is used for general household water.
Common mistakes
- Putting succulents and vegetables on the same line and the same timer.
- Placing the drum on the floor and expecting it to drip evenly.
- Skipping the filter, or running the system with the screen taken out.
- Setting one schedule in March and never changing it, so pots are soaked in August and dry in May.
- Only one dripper in a big grow bag, so half the roots stay dry.
- Laying pipes across drain outlets, or leaving a slow leak at a joint that keeps one patch of roof wet.
- Trusting the timer completely. Check a few pots with your finger each week.
Watch: a basic drip setup for pots
This short Hindi video shows a low-budget drip setup for pots, from fixing the main line to connecting each plant with a feeder tube. Your layout and run times will depend on your own terrace, water source and plants.
Comments
No comments yet — share what worked in your climate.