
Do not order a load of soil before checking how you will carry it upstairs and where the water will go. Those two decisions often shape a terrace garden more than the choice of plants. A small container garden is easier to correct than beds built across a roof.
Use this work plan after reading the balcony and terrace gardening guide. It is for movable containers, not instructions for constructing a green roof or altering a building. Stop at the safety checks if there is uncertainty about the terrace. No planting arrangement can make an unsound or leaking roof suitable.
Step 1: Get the terrace cleared for use
Confirm who owns the terrace and what your housing society permits. Check access for maintenance staff as well as residents. Water tanks, solar equipment and emergency routes must remain accessible. A shared rooftop is not spare private floor space simply because nobody is using it this week.
Have a qualified structural engineer assess permitted loads if there is no reliable information. Ask about the proposed containers, wet growing medium and where they may be placed. Do not guess a safe load from the age of the building. An engineer's advice for one property cannot be copied onto another roof.
Step 2: Inspect the water path before buying pots
Locate every outlet and look for old stains, cracks or signs of persistent pooling. Report leaks to the owner and arrange assessment by an appropriate waterproofing professional. Garden pots should not hide an existing defect. Do not drill into the roof slab or add an improvised membrane without professional advice.
After ordinary rain, observe how water travels towards the outlets from a safe position. You need a clear route that can be checked and cleaned. Fine potting material should not wash directly into a drain. Sweep spills up and dispose of them appropriately rather than using the hose to push them away.
Step 3: Make a sunlight and wind record
Record where direct light falls over a normal clear day. Note shadows cast by the stairwell, neighbouring buildings and water tanks. Revisit the notes when the season changes. In north India the sun's winter angle can make a wall cast a much longer shadow than you expected.
Watch which positions dry fastest and where wind accelerates around corners. Do not stand on parapets to test a site. If small empty pots blow around, the garden needs a safer arrangement before plants arrive. Any wind screen or shade structure needs suitable design and fixings; loose fabric tied to a pipe is not a permanent solution.
Step 4: Draw a small first layout
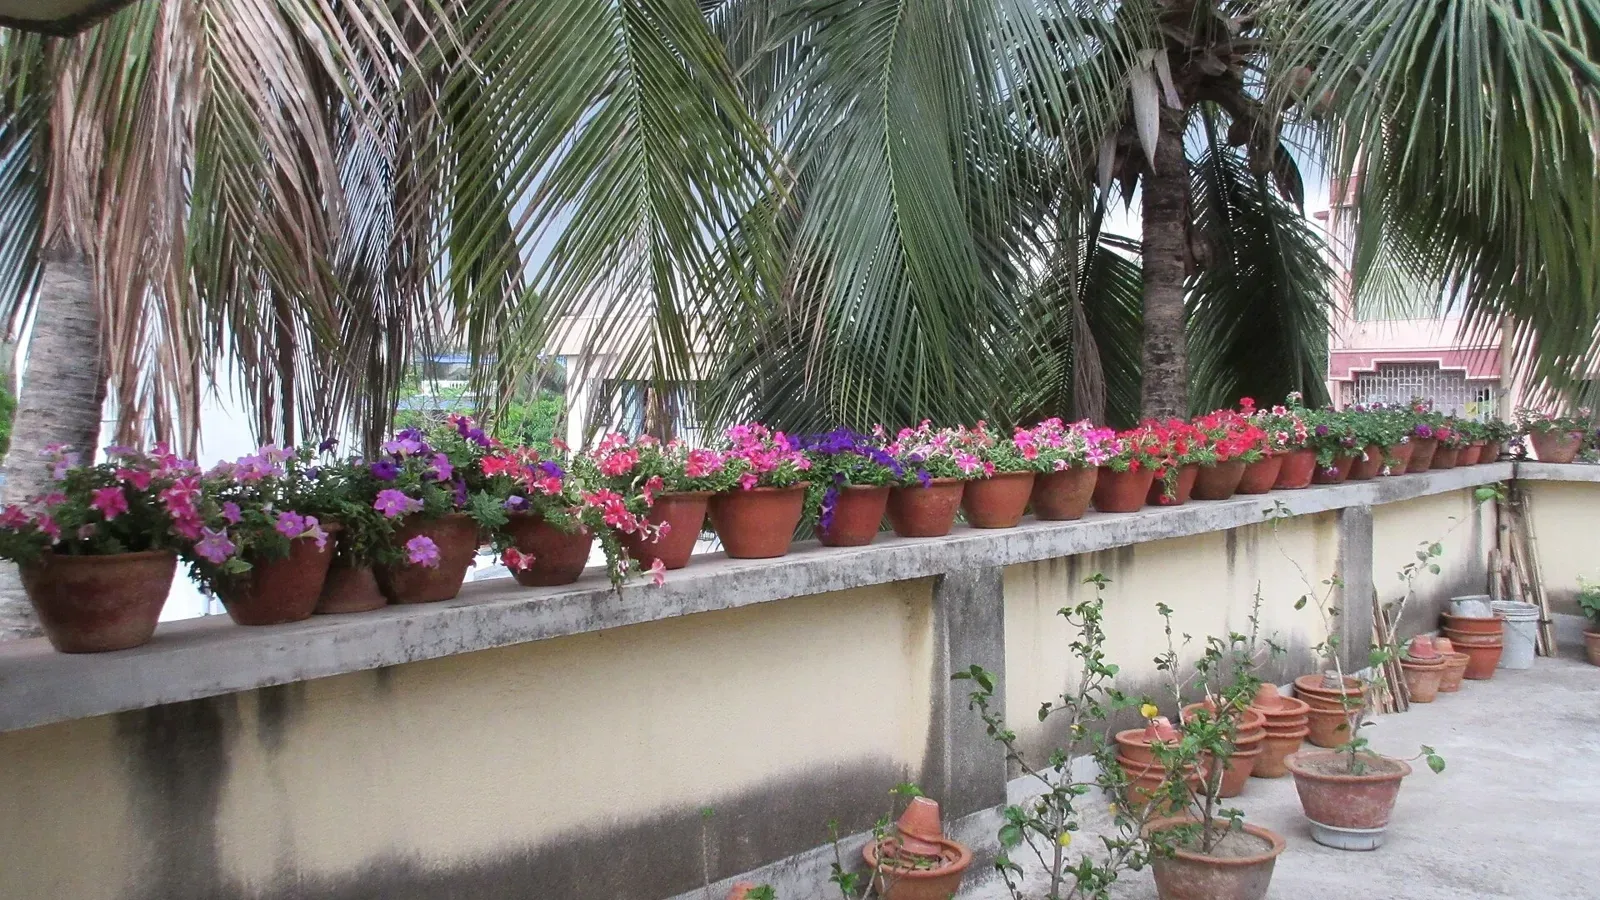
Choose a limited planting area and leave a route wide enough for your usual watering and maintenance work. Make room to set down a full watering can. Avoid arranging pots so closely that the only way to reach the back row is to lean over the parapet or step on containers.
Mark each container on the drawing, including its mature plant width. Keep rain-sensitive plants in a bright protected section and thirsty herbs in a separate group. For plant choices, use the balcony sun and shade guide. A container collection with a clear purpose is easier to maintain than one plant from every nursery shelf.
Step 5: Choose containers for roots and exposure
Use stable containers with unobstructed holes. The root ball should fit comfortably without a huge ring of wet unused mix around it. Match eventual root space to the species rather than choosing every pot by colour. Tiny pots heat and dry quickly on exposed rooftops, and a tall top-heavy plant needs more than a decorative narrow base.
Inspect handles and rims before carrying filled containers. Use safe lifting methods and get help with heavy items. Never drag a rough base across a waterproofed surface. Ask the professional responsible for the roof finish about suitable protection and pot feet; a stand must not concentrate excessive weight on small sharp points.
Step 6: Prepare one trial batch of growing medium
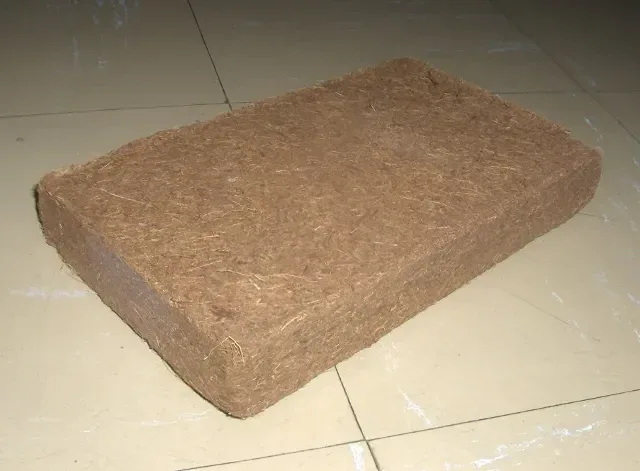
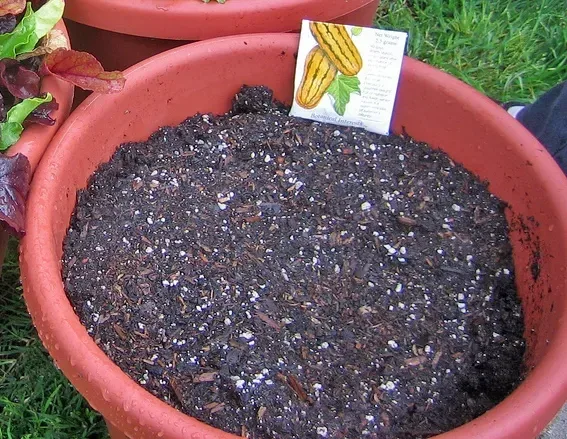
A reliable labelled mix is a reasonable starting point. If mixing ingredients yourself, measure by volume with one container so the result can be repeated. Combine suitable washed coir, mature compost and an aerating material according to the plant's needs. Do not assume coir is fertilizer or that every bag of compost has the same nutrient strength.
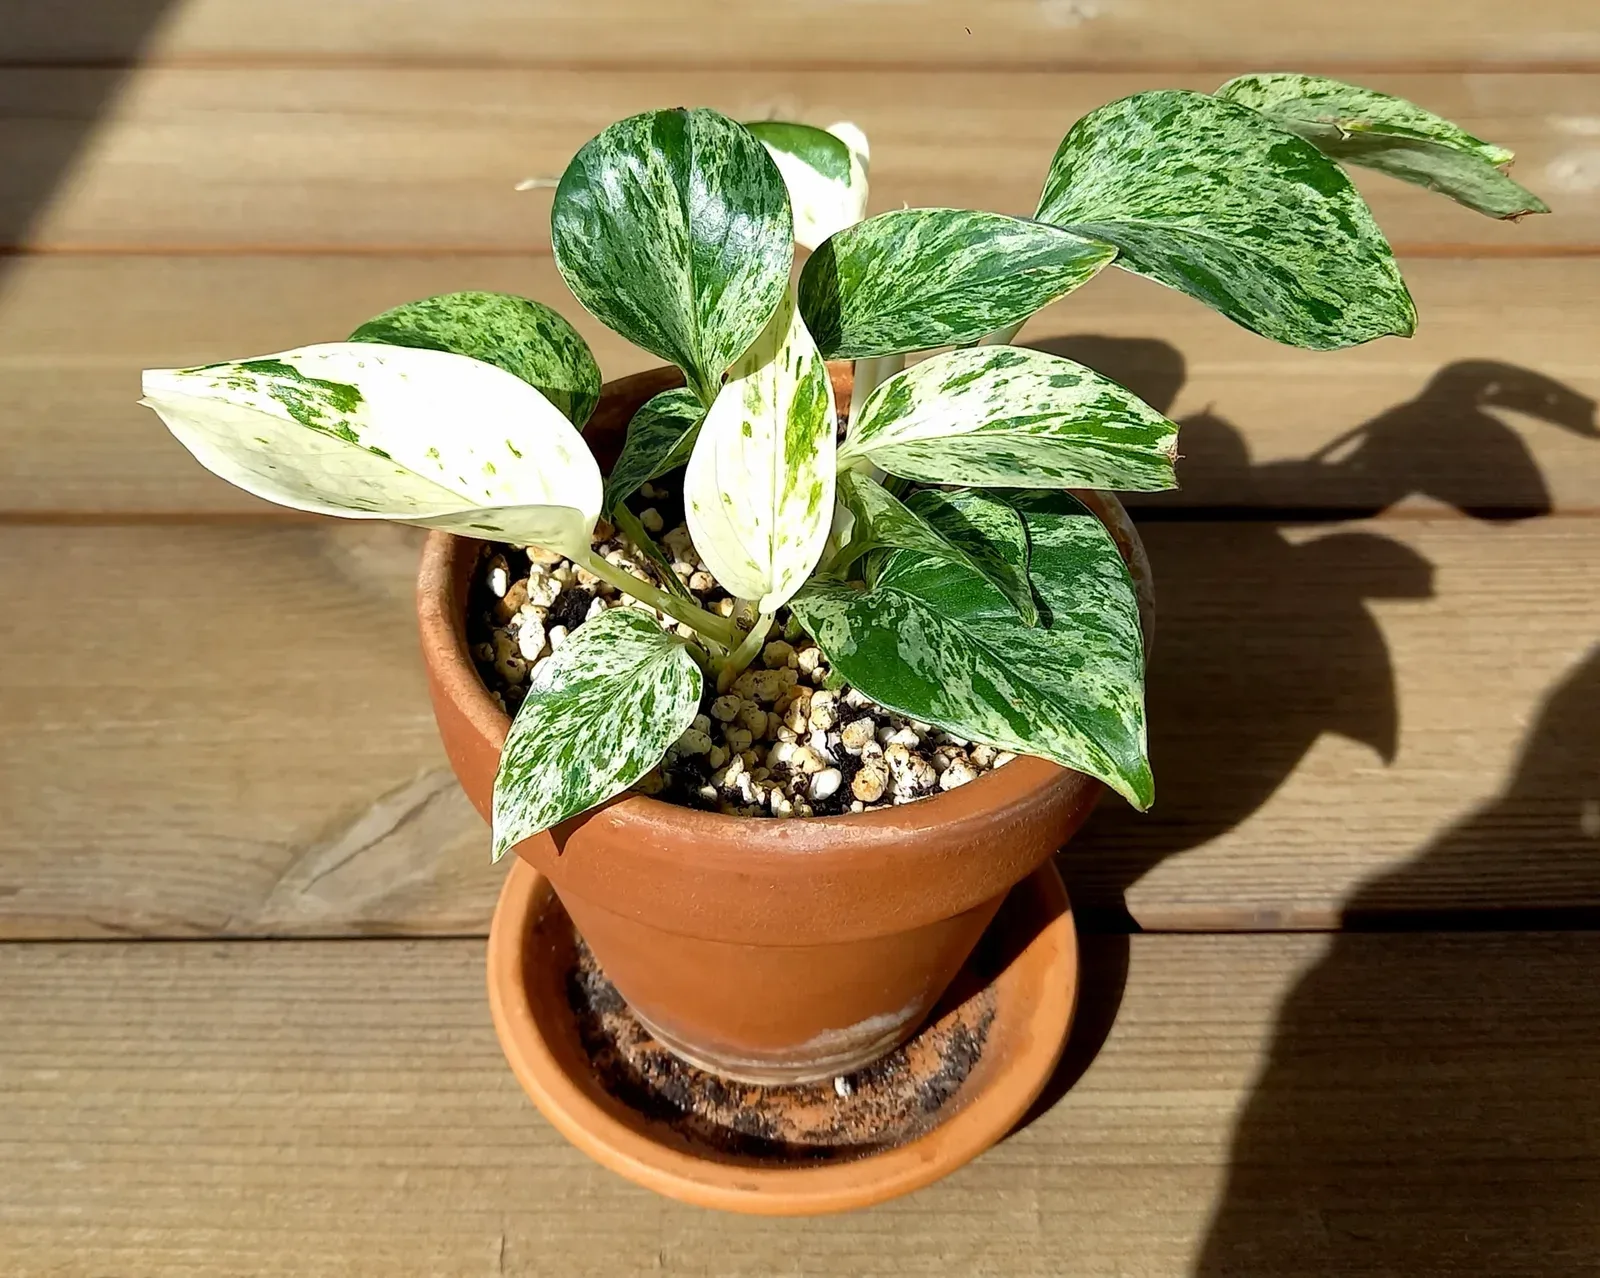
Wet a test pot and observe drainage before filling the whole garden. The medium should not remain a dense sticky mass. Fine sand or heavy soil can make some mixes less open, not more. The money plant profile gives one reference point for a leafy container plant, but a succulent and a leafy herb still need different moisture conditions.
Do not bury waste under the root ball
Raw vegetable scraps, banana peels and fresh manure are unsuitable shortcuts in a finished container. They can break down unevenly and attract pests. Use properly finished compost as part of a suitable mix. Keep a new composting project separate until you can recognise a mature material rather than adding partly decomposed waste to every pot.
Step 7: Bring home healthy starter plants
Choose plants with firm stems and a root ball that is not sour-smelling or waterlogged. Inspect both leaf surfaces and the junctions of stems. A heavily flowering but pest-infested plant is not a good first purchase. Keep new arrivals separate for observation instead of placing them immediately among the collection.
Do not repot, feed heavily and move into harsh sun on the same day. A nursery plant has already had a change of conditions during transport. Give it a sheltered bright position and assess the root ball. Repot when there is a real need, using only a modest increase in size and keeping the previous planting depth.
Step 8: Plant without compacting the root zone
Moisten very dry medium lightly before filling so it does not repel water. Set the plant at its existing depth, add mix around the root ball and settle it gently. Leave watering space below the rim. Do not press the pot as firmly as a construction brick; roots need air as well as moisture.
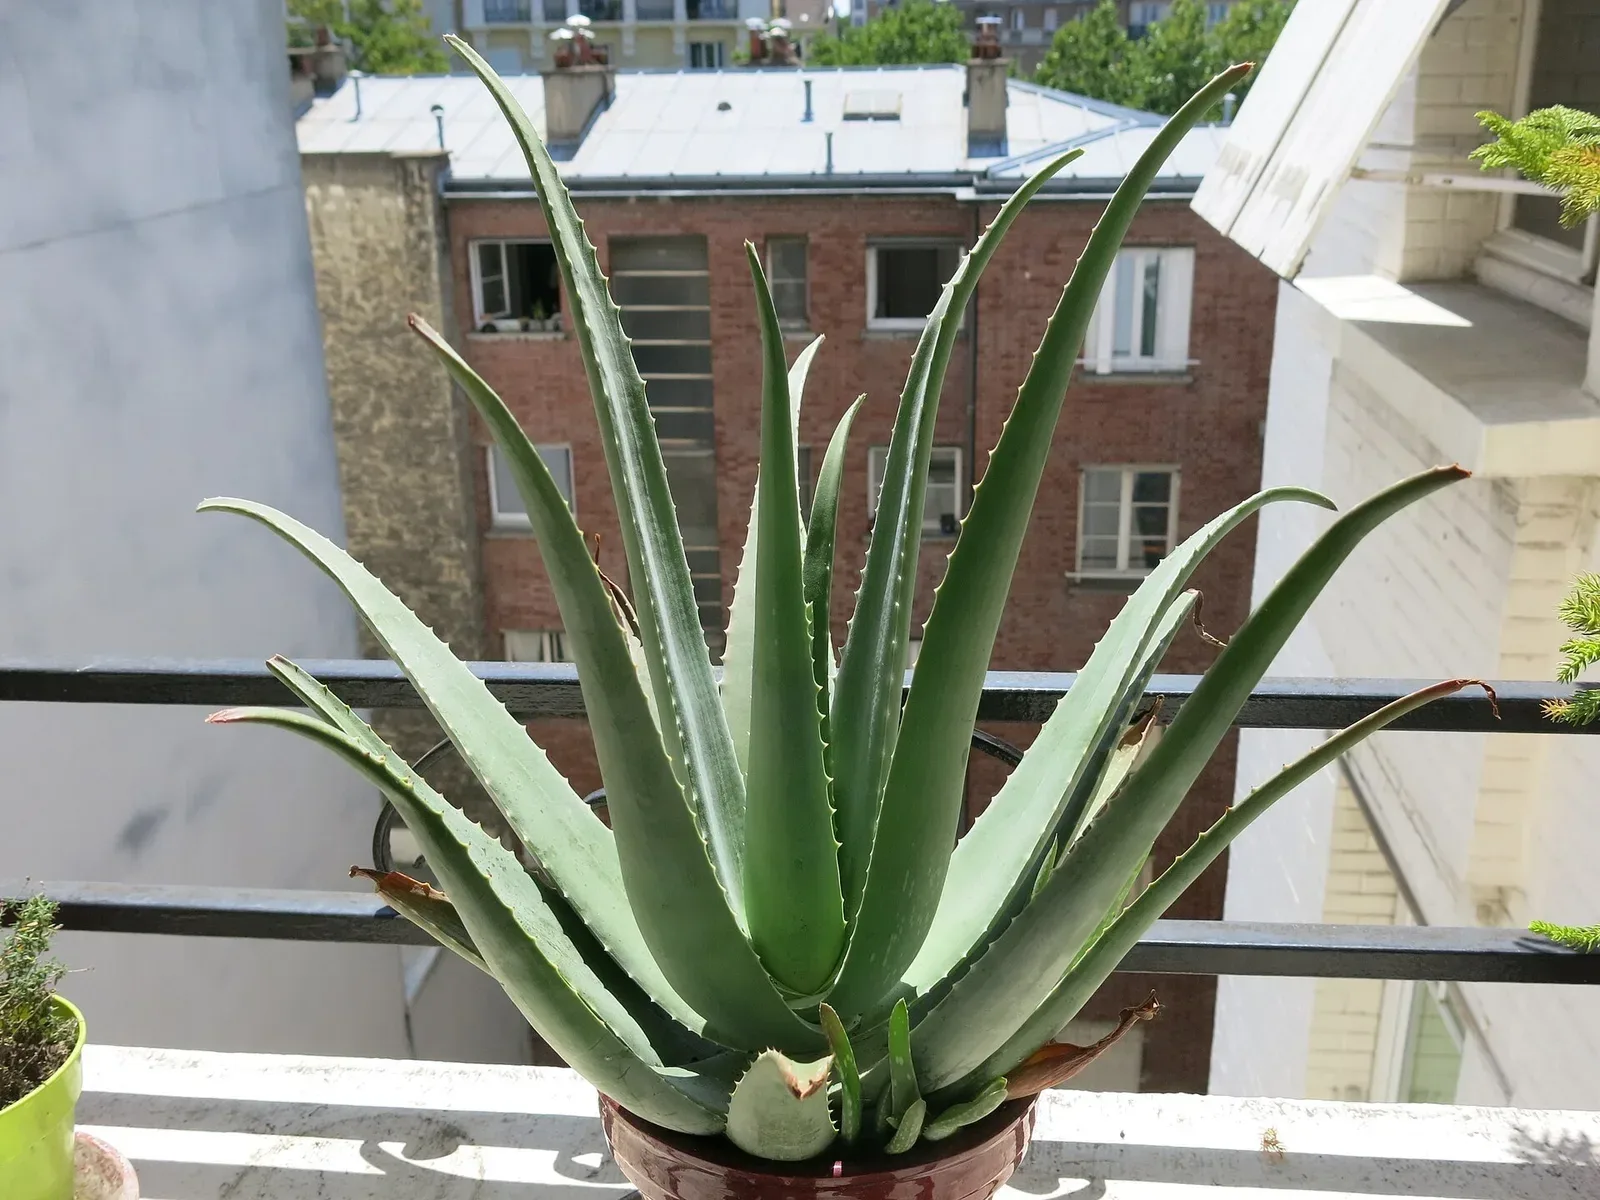
Water according to the species and the condition of the original root ball. A recently damaged succulent is not treated like a leafy transplant. See the aloe vera pot care guide for a plant-specific example. Check that a hidden nursery root ball has actually become moist rather than assuming surface wetness is enough.
Step 9: Test the whole watering route
Make one careful watering round before adding more pots. Observe where runoff collects and check the outlets afterwards. Pots should not drain over electrical equipment, freshly washed clothes or a neighbour's balcony. A tray can catch a temporary drip, but should not become a permanent reservoir of stagnant water.
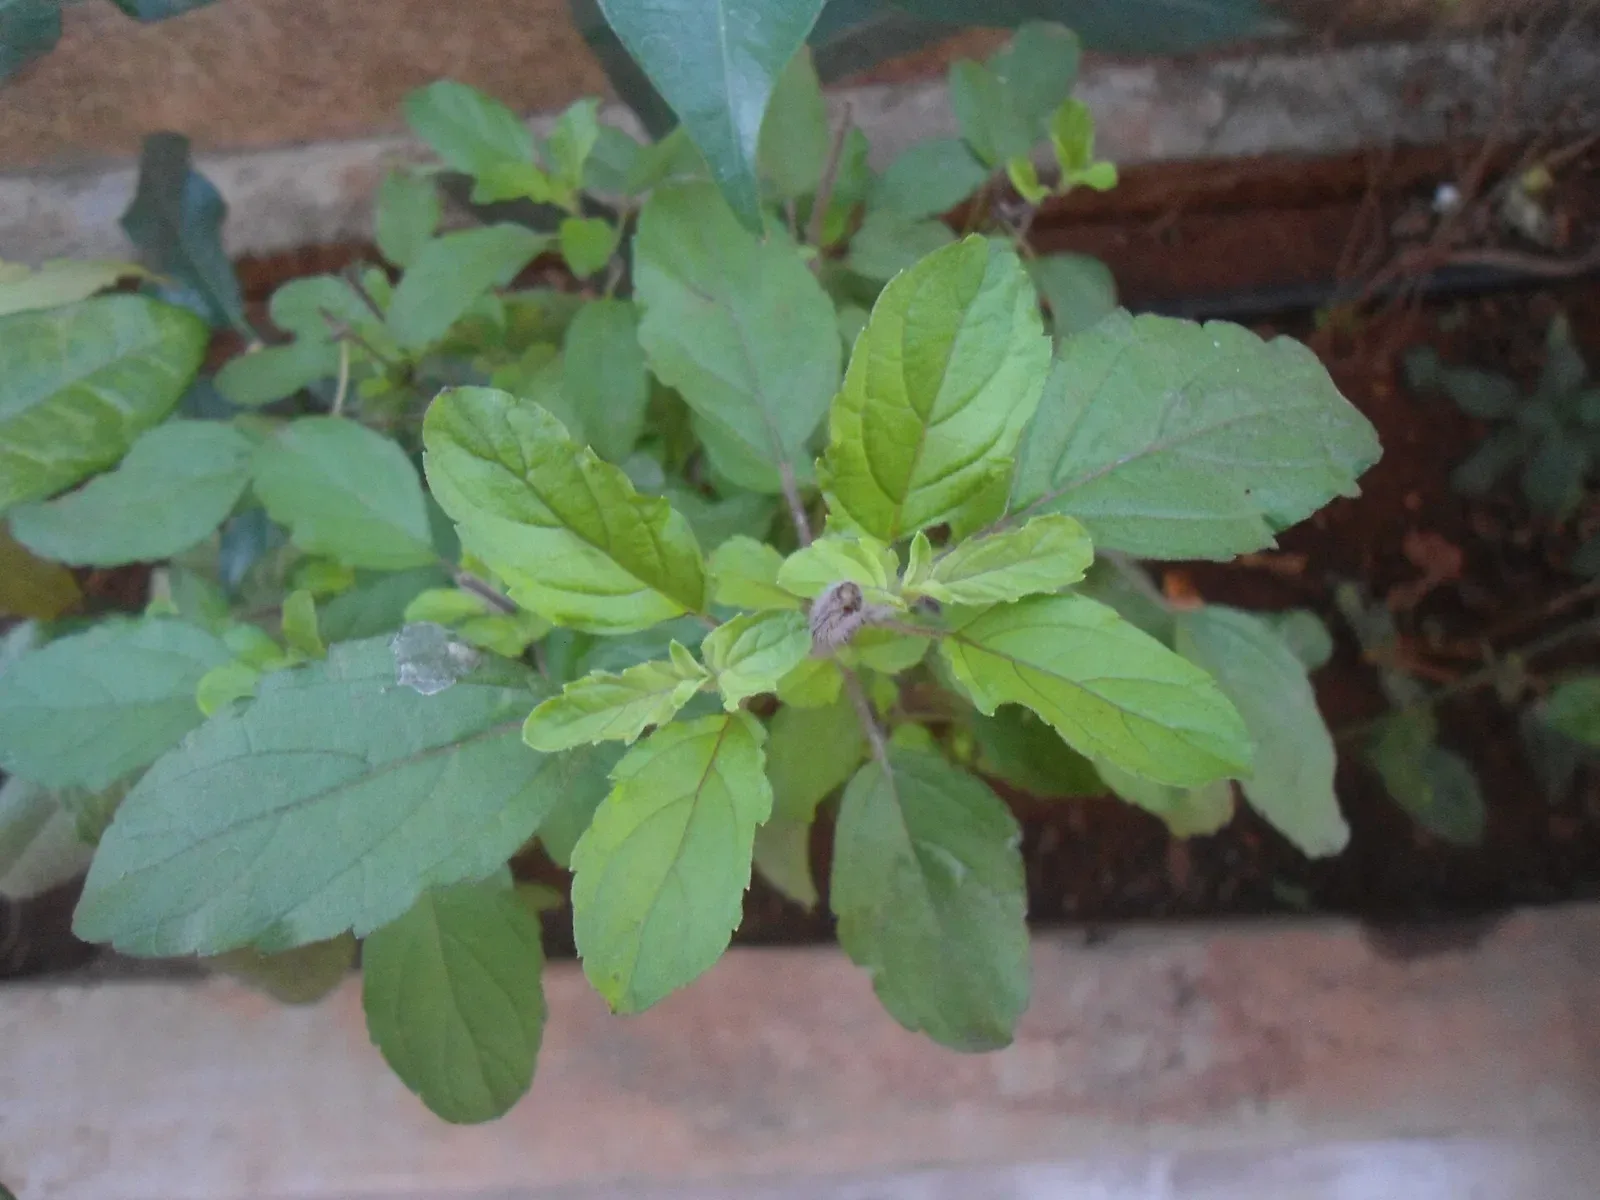
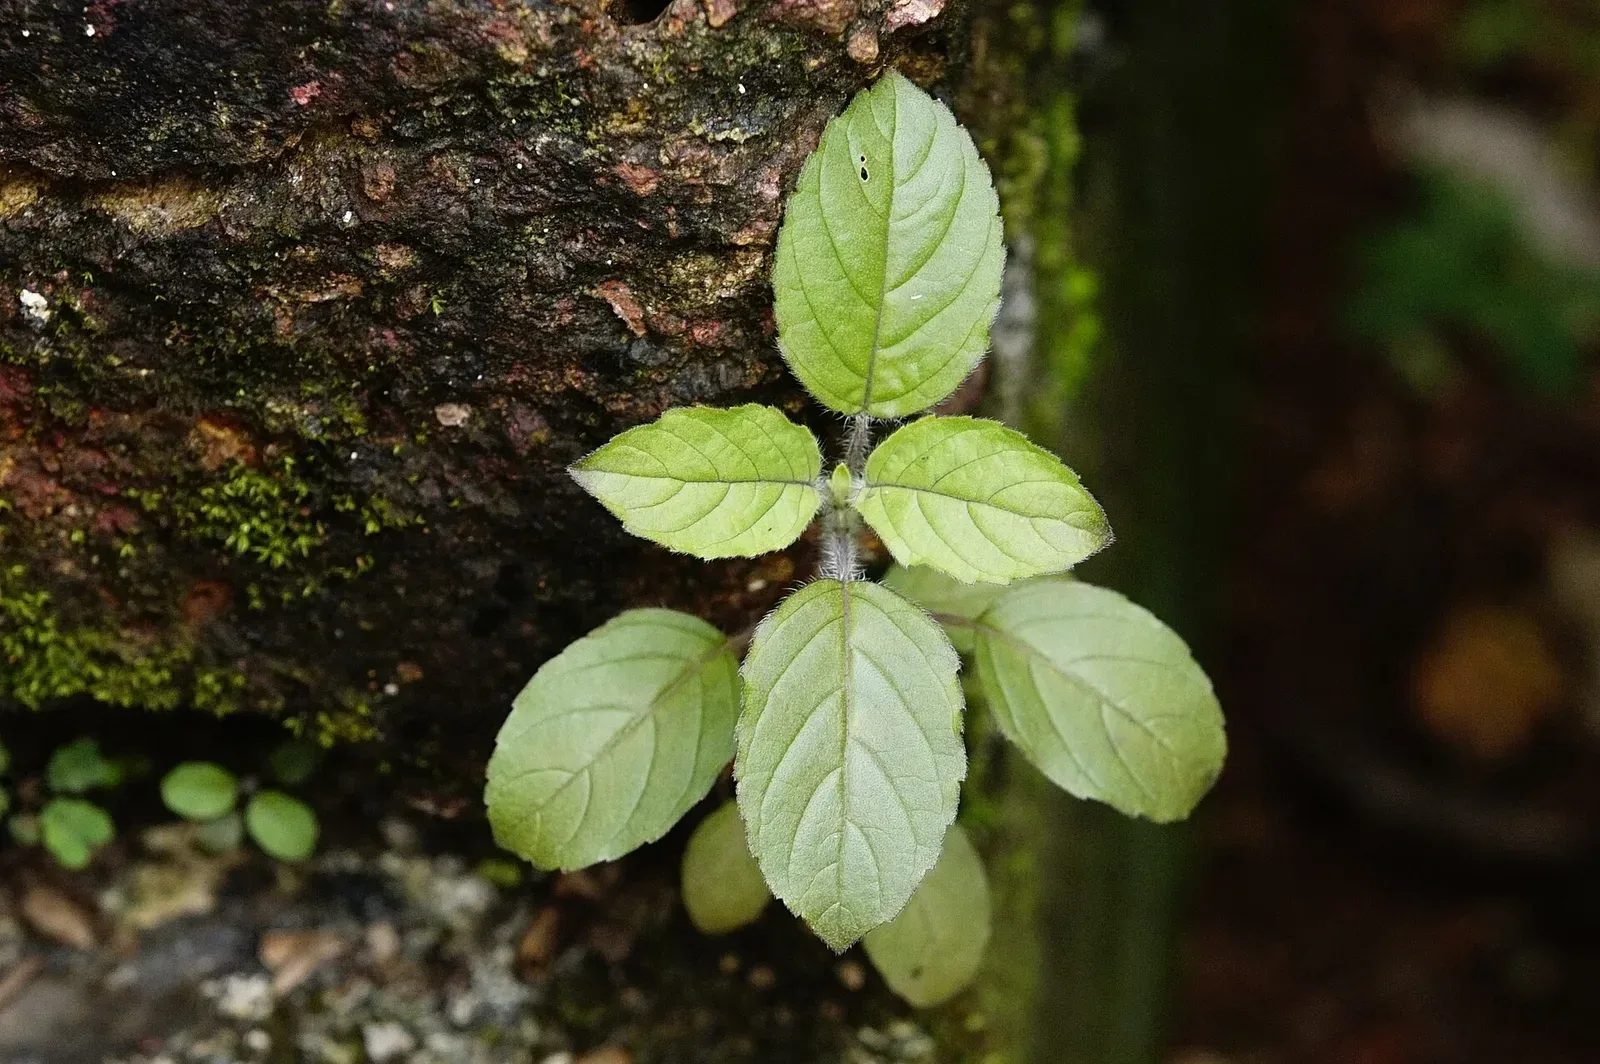
Keep the hose tidy when not in use. Put watering tools where they are easy to find, but do not store loose equipment against the parapet. Label plants with their names and arrival dates. Use the India tulsi plant profile to check the identity and needs of a sunny starter plant. A simple record helps you distinguish a settling-in problem from a change caused by the weather. If using drip irrigation, test every emitter at the expected water pressure and check the most distant outlet. Inspect it again after a few days; a system that works once may later block or detach. Learn hand watering first so you can recognise if irrigation is delivering too much or too little.
Step 10: Follow a first-month inspection routine
During the first week, inspect plants daily without making changes simply because one old leaf drops. Check new growth, root-zone moisture and the stability of supports. A wilted plant with wet medium may have damaged roots or heat stress. Adding more water without checking can make it worse.
In the following weeks, adjust placement gradually and remove dead leaves. Feed only if the plant is settling and the mix's label indicates it is needed. The tulsi care guide is useful for a sunny starter pot, while jade's monsoon rot guide explains why a dry-growing plant should not follow a herb's watering schedule.
Prepare for heat and rain before they arrive
An inland terrace in May may need checks more often than a sheltered garden in Bengaluru. Avoid transferring tender foliage into afternoon sun during a heatwave. Test how quickly each container dries rather than copying another city's schedule. Keep a reliable backup watering plan for travel or illness.
Before Mumbai's wet months, clear leaf litter and move vulnerable succulents to a bright rain shelter. In Chennai, include the northeast monsoon in your planning. North Indian winters can slow growth and drying, so cut watering when the pot remains damp. Seasonal changes should alter care, not trigger automatic repotting of every healthy plant.
Expand only when the first layout works
After several weeks, count the time needed for watering and cleaning. If you are already struggling, reduce the collection or improve access before adding anything. Use the setup cost planning sheet to compare the next stage, including delivery and repeat expenses. Keep the original plan and record any professional advice with it. A terrace garden should remain easy to inspect beneath the pots, not become a permanent cover over problems you can no longer reach.
Watch a related garden demonstration
This video offers a visual example. Use the plant-specific advice above for care, and obtain qualified advice for building loads and fixings. Any prices or product suggestions in the video are not current local quotes.
Watch the video on YouTube if the embedded player does not load.


Comments
No comments yet — share what worked in your climate.